Standard Plus Plan

The Standard Plus plan in Textura lets you enable Advanced Tiling Mode. This guide covers activation steps and key benefits.
The standard plan in Textura has been upgraded to include a Standard Plus feature.
This article will guide you through the process of activating Standard Plus mode.
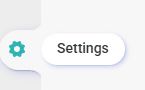
In the Setting wheel, at the bottom left corner
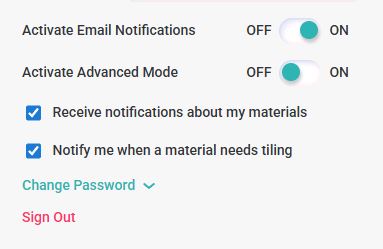
Choose User settings:
Here, you can enable or disable Email Notifications and toggle Advanced Mode.
By default, Advanced Mode is turned off until you choose to activate it.
Switching the Advanced mode to On will change your workflow and allow you to access premium features.

Changes in Workflow for Advanced feature mode:
When uploading a single scan material, you no longer need to work only on the main screen or complete everything in one session.
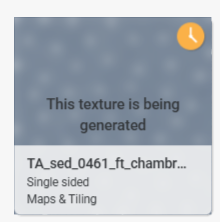
Hitting the create material button will send the material to a waiting queue line
and it will appear in your main library with a yellow clock on the top right corner.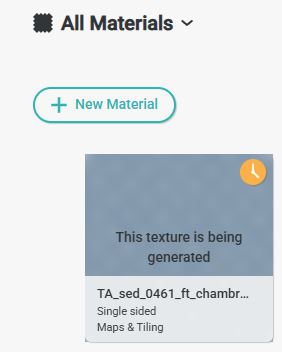
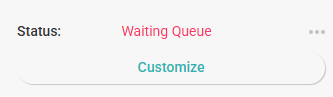
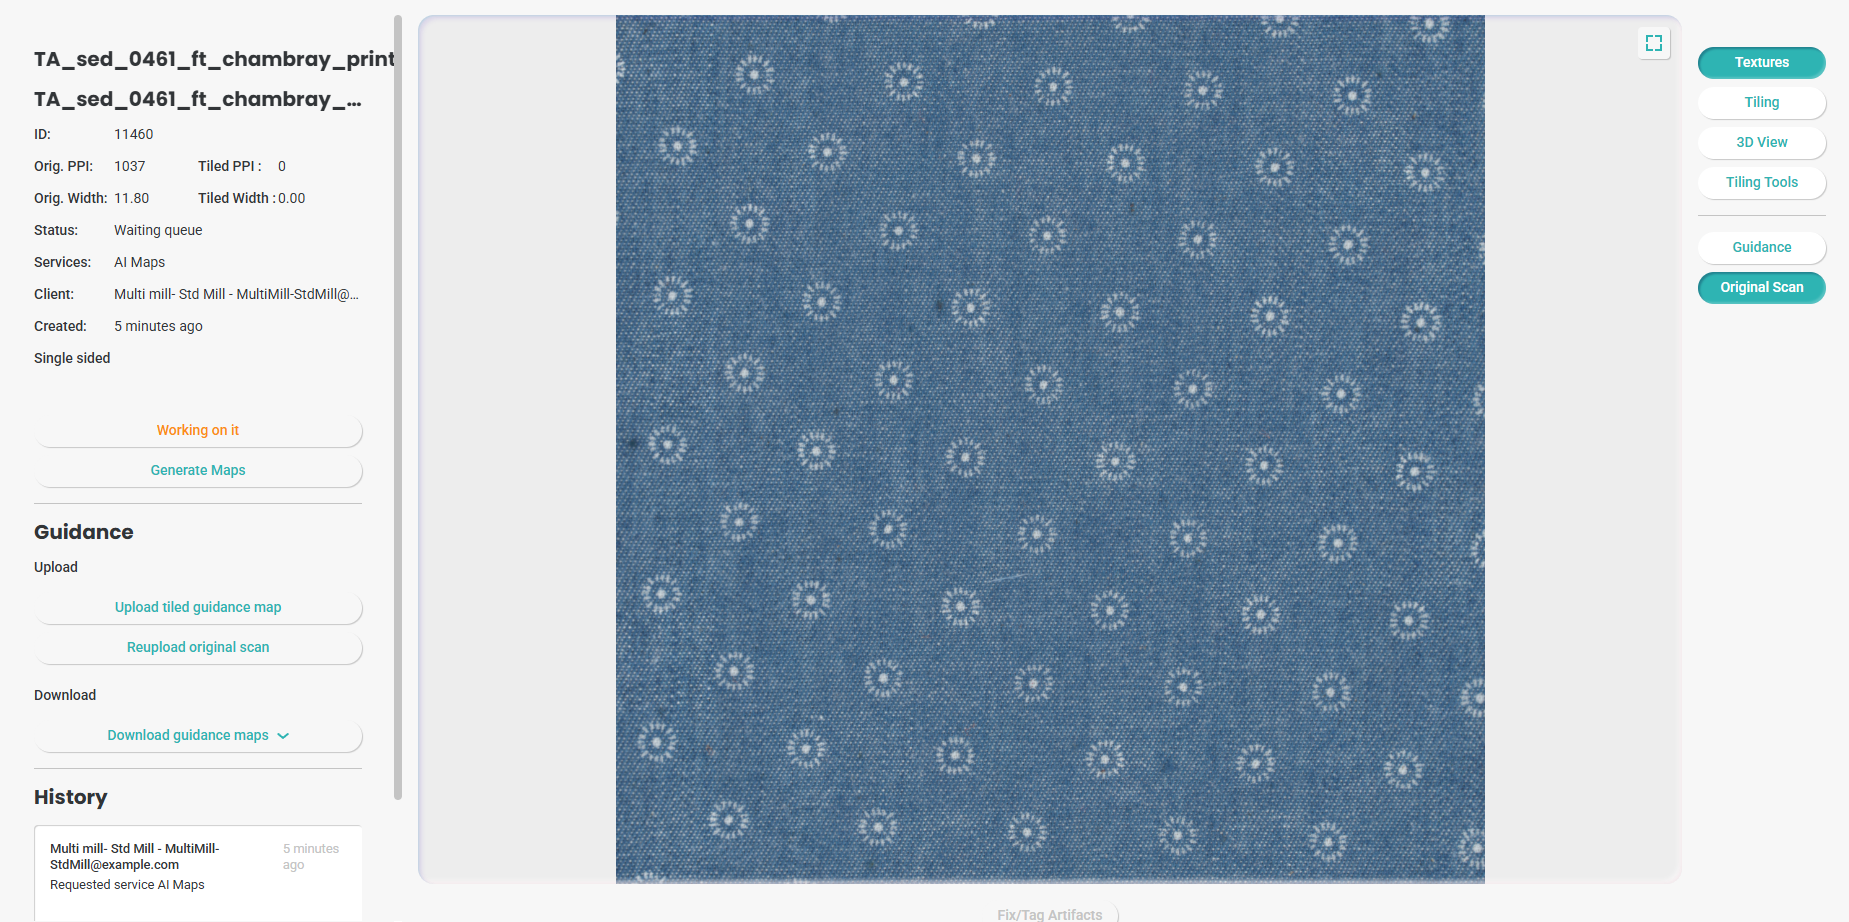
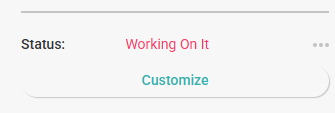
Double click to enter the material and scroll down:
The status of this material is "Waiting Queue"
And you have the option to customize it
Pressing the Customize button will lead you to a material editor view:
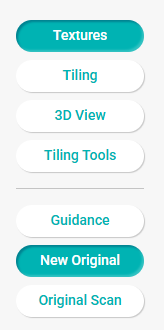
On the right side, you will see the Tiling tools button. Enter tiling tools here to start tiling your fabric:
Using tiling tools from this screen will let you "Implement" your work.

When you press Implement, you will get this pop-up
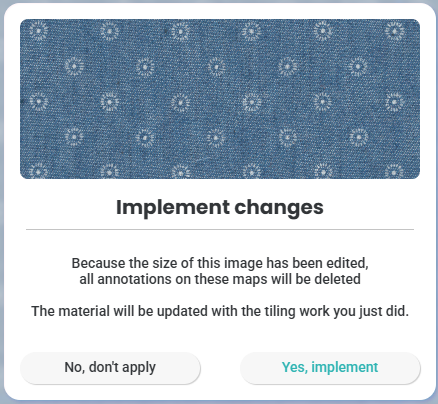
"Yes, implement" will direct you back to the main working screen:
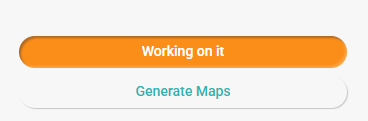
Your fabric is now on the "Working on it" status.
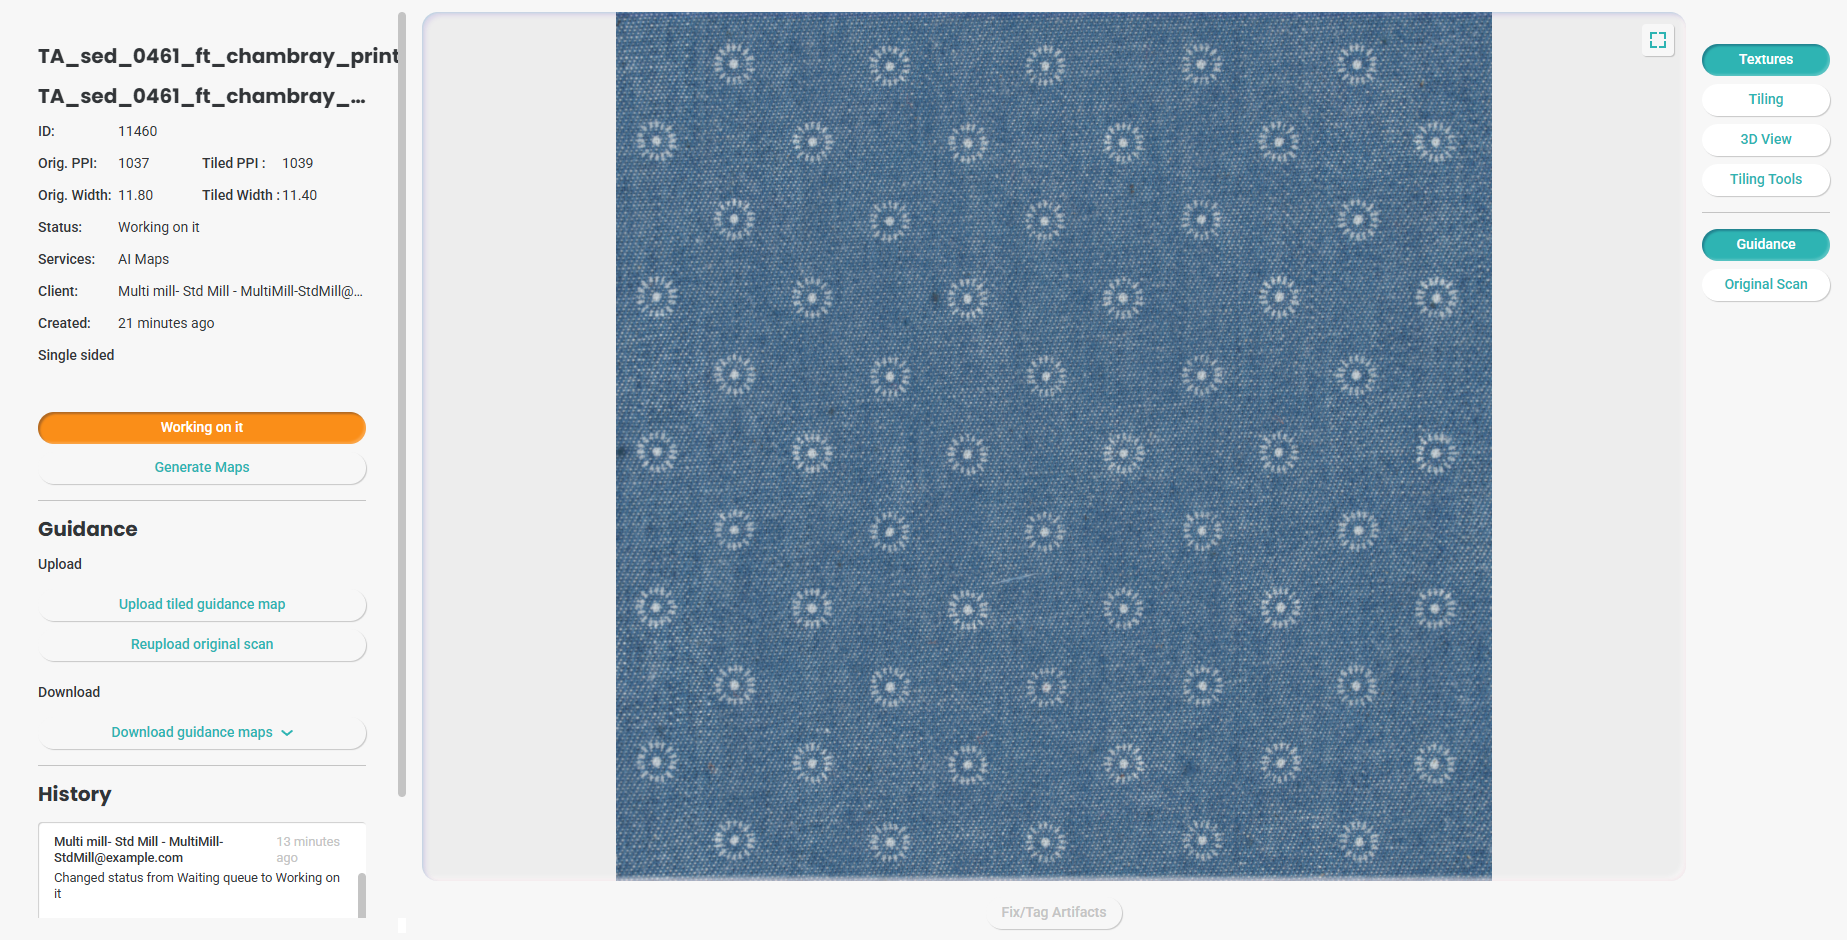
It will display both the Original Image option and the Tiling Tools versions.
There’s no need to finish in one session—you can create multiple tiling tools, apply edits, and continue working.
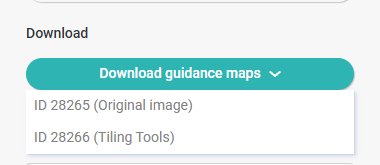
If you apply a step you’re unhappy with, you can download the Tiling Tools version and re-upload it as a new tiled guidance map.
On the left side bar, you will see a download dropdown:
You can also edit your tiled fabric in any other graphic software at your choice, make the necessary changes, and re-upload it as a new tiled guide.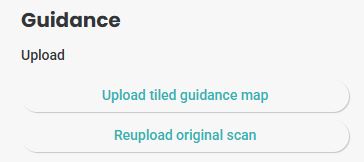
The guidance section also allows you to upload a new original scan, which will fully replace the main tiling fabric.
This is especially useful when revising versions for gradients or other changes that may occur during the download/upload process.
It ensures that your final tiled garment accurately reflects your original scan in digital form.
When you upload a new original scan, on the right bar, you will be able to switch original and the new original in order to verify the changes, if needed.
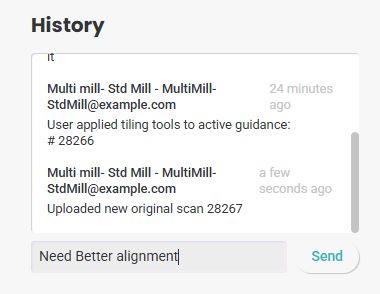
The History Log, located in the bottom-left corner, provides detailed information on every step your fabric has gone through during the tiling process.
You can also add notes, which will be saved alongside the history details.
Please note that Textura will not generate maps automatically during this process—you must press the Generate Maps button.
You can tell maps haven’t been generated yet when all map names on the right side appear greyed out.

You dont need to finish your tiling work in one go, if you choose to step out on this stage, your material will wait for you, marked with he same yellow clock on the main library
If you enter your material now and scroll down, it will show "working on it" status
And the Customize button will lead you back to the editing screen.
Once you are done with the tiling process, hit "Generate maps."
This will send the material for processing
You can choose to stay on the processing page or simply navigate back to the main library page; your fabric will appear there without the yellow clock once processing is ready.
Note:
If you generate fabric with Physics enabled, Textura processes the physics first. In Advanced Mode, it may take a few minutes before the waiting queue and the Customize button becomes available.
You can toggle in and out of the Advanced tiling mode at any time according to your preferences.
Prefer to watch a video tutorial: click here