How To Import Texture Stacks into Maya and Arnold Render Engines

Follow these steps to import SEDDI Textura files into Maya and Arnold.
Like any other materials, textiles have special optical properties that artists needs to emulate in order to achieve realism in the rendering process. The basic properties can be emulated with five different maps:
Albedo:
This is the standard basic rendering color of the textile. It does not contain lighting reflection interferences (such as specular, subsurface, transmission ...etc.).
Specular:
Defines the brightness of the material.
Roughness:
Defines the glossiness of a material (0 looks like a mirror, 1 like a diffuse material).
Normal:
Defines the direction of the reflected light in the yarns of the fabric.
Alpha:
Defines the transparency of the fabric.
With these, we can start generating our scene. For this case we used a twisted fabric made with Houdini, and two area lights.
How To Import Maps

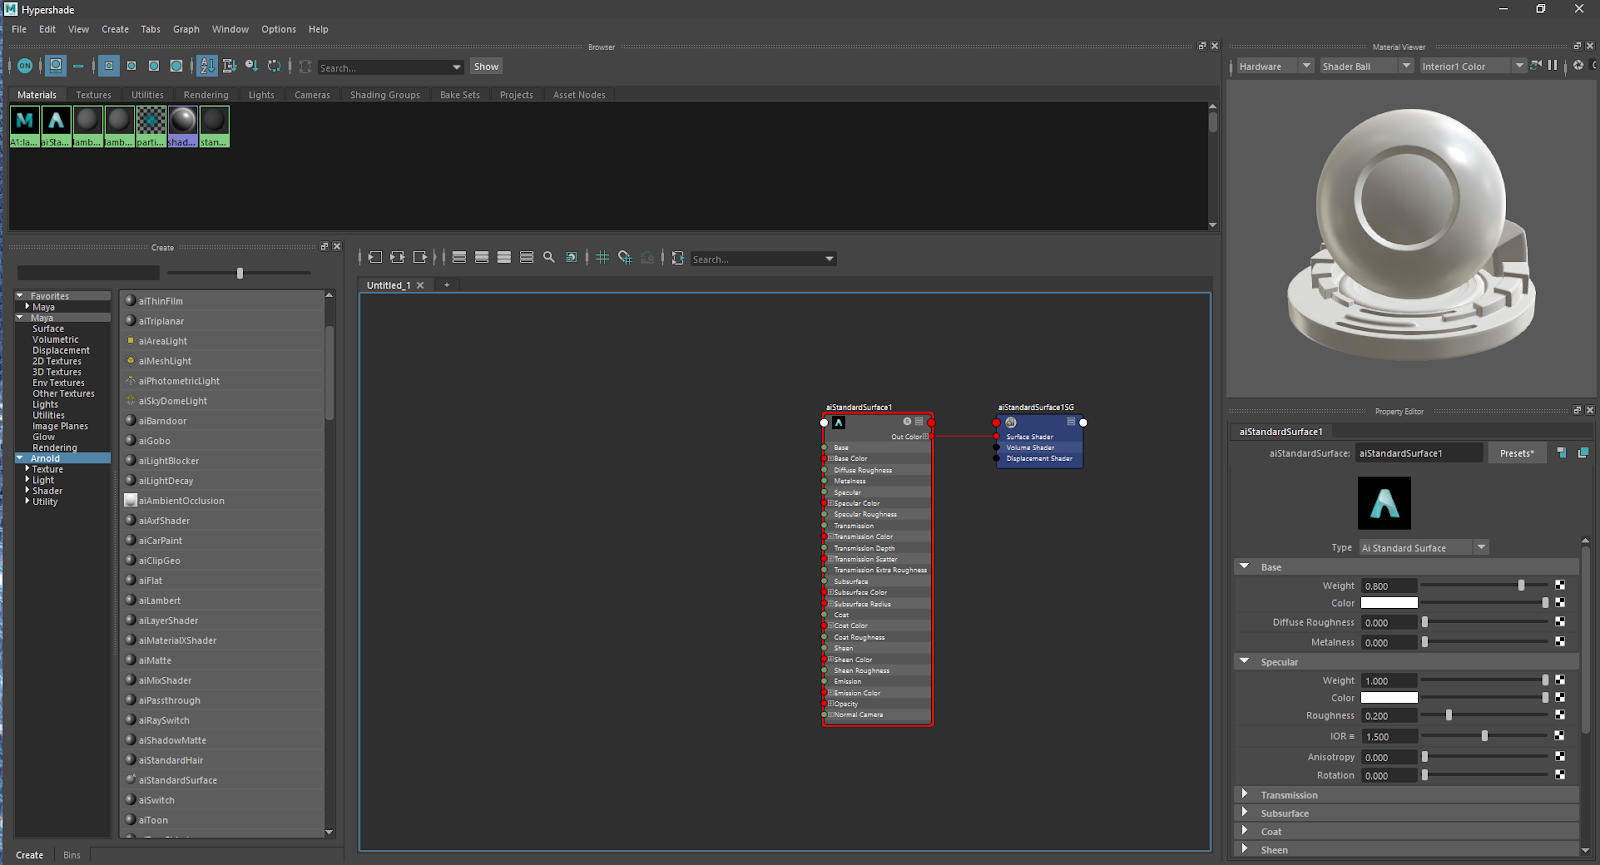
First we open the Hypershade (Maya material editor) and we select “Aistandardsurface”. You can easily find the shader by clicking “Arnold” on the left bar and searching on the right part of the shader library.
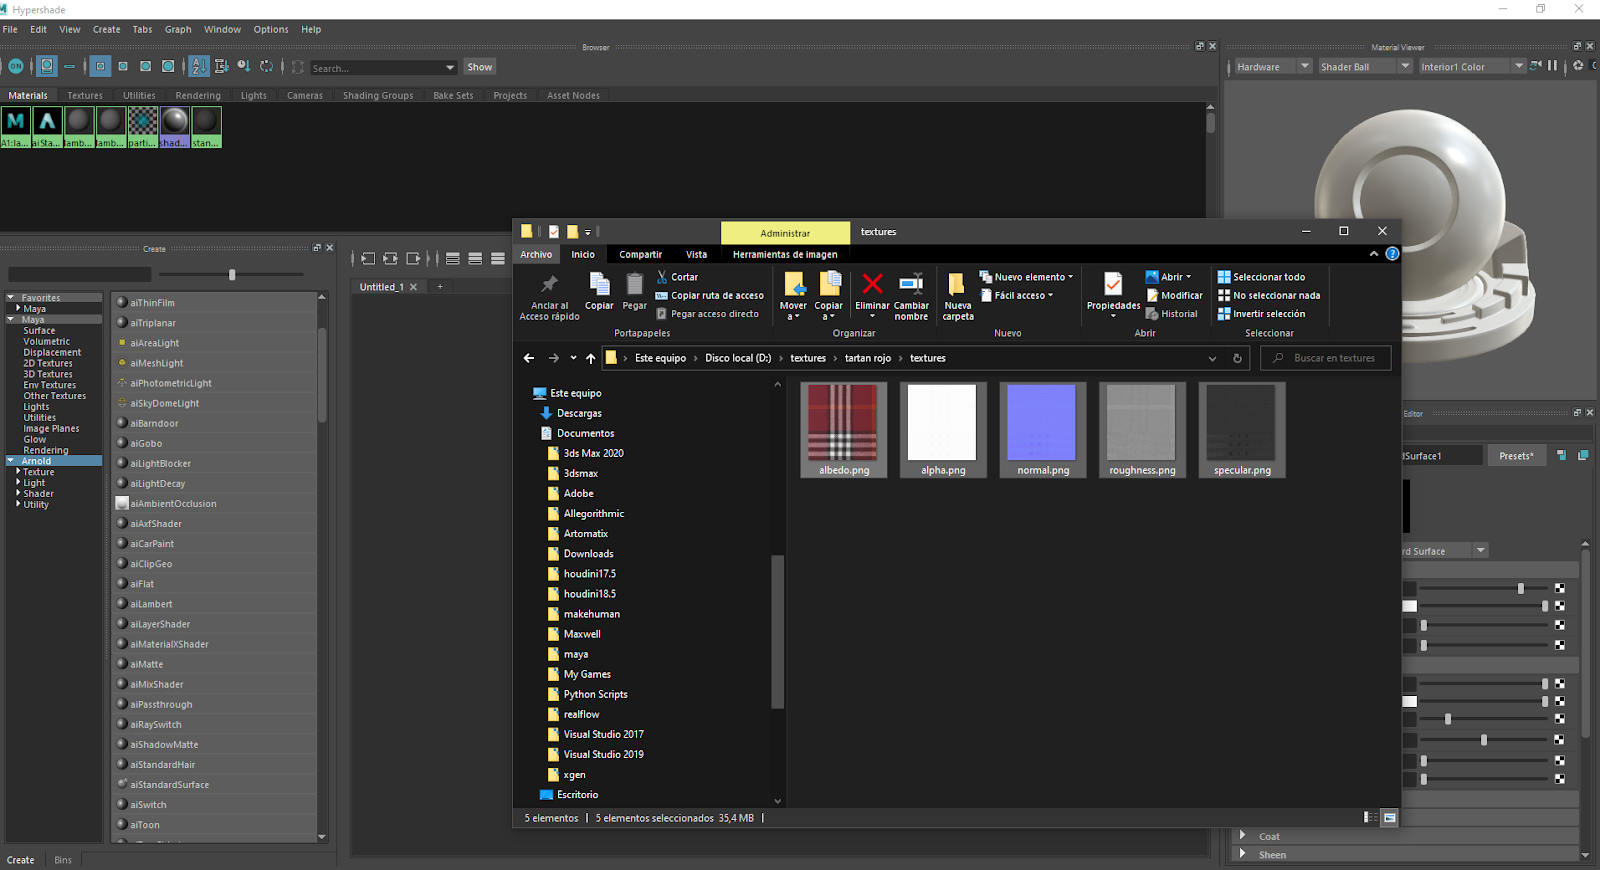
Once we have the shader node on the editor, we open the folder where we placed our texture stack. In this case we are going to use a red tartan as an example. Then we select the different maps and add it to Maya by just moving them into the Hypershade interface.
How To Connect the Maps Into the Shader
Albedo: Connect the “out color” into the “base color”.
Specular: Connect “out alpha” into “specular”.
Roughness: Connect “out alpha” to “specular roughness”.
Alpha: Connect “out color” to opacity.
Normal: Select “ainormalmap” in the shader library. Connect “out color” of the normal map node with the input of “ainormalmap”, and after this, connect the “ainormalmap” node with “normal camera”.
It should look like this:
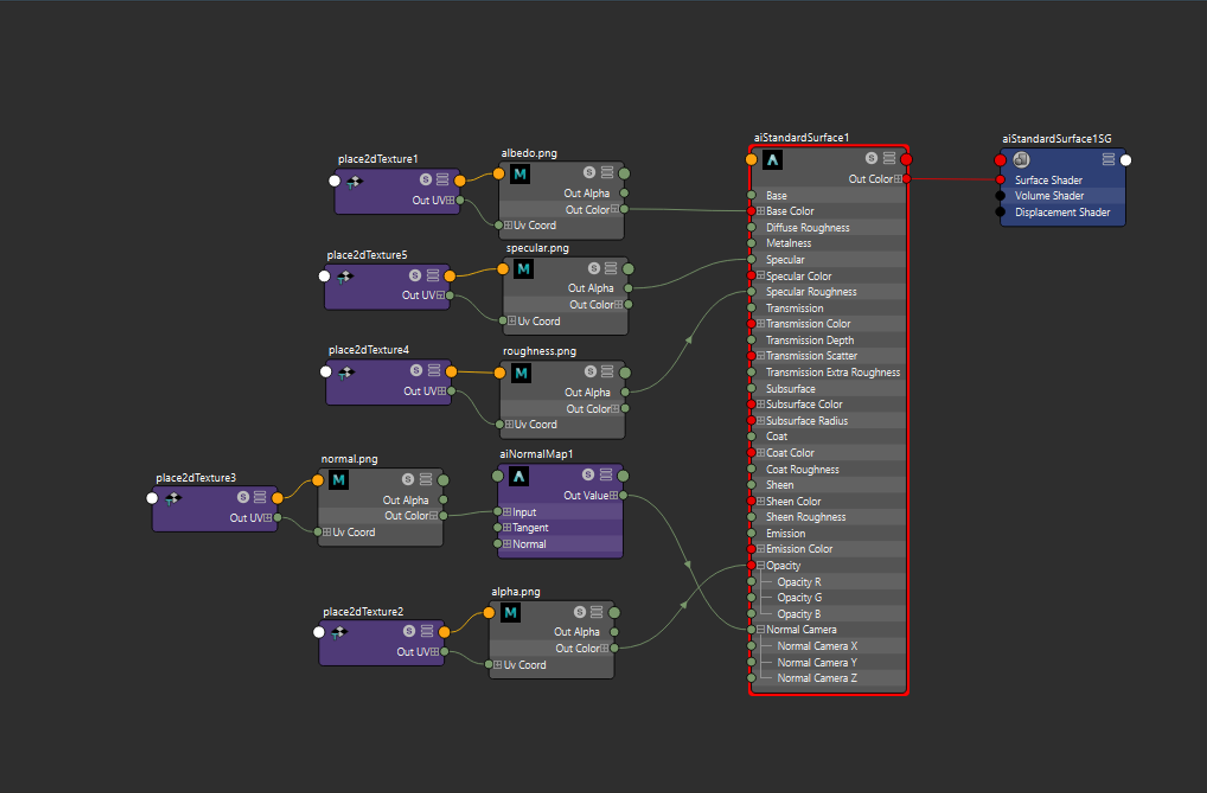
After this step, click on the specular map node, change “color space” to RAW and click on the “alpha is luminance” button.
Repeat this process with “roughness”, “normal” and “alpha” maps.

How To Adjust the Repeat
Just to make it easy in case you want to change the repetitions of every map, delete all texture attribute nodes (the purple nodes on the left) except one, and connect it to the “Uv Chord” parameter of the map's nodes.
Depending on the UV mapping your mesh has, you will have to change your texture repetitions ( we always add a .txt with the real size of the maps in the zip file of the rest of the maps).

How To Apply the Shader
In case you need to work with multiple fabric stacks or materials, the easiest way is to rename the “Aistandardsurface” shader. In this case we called it “tartan”.
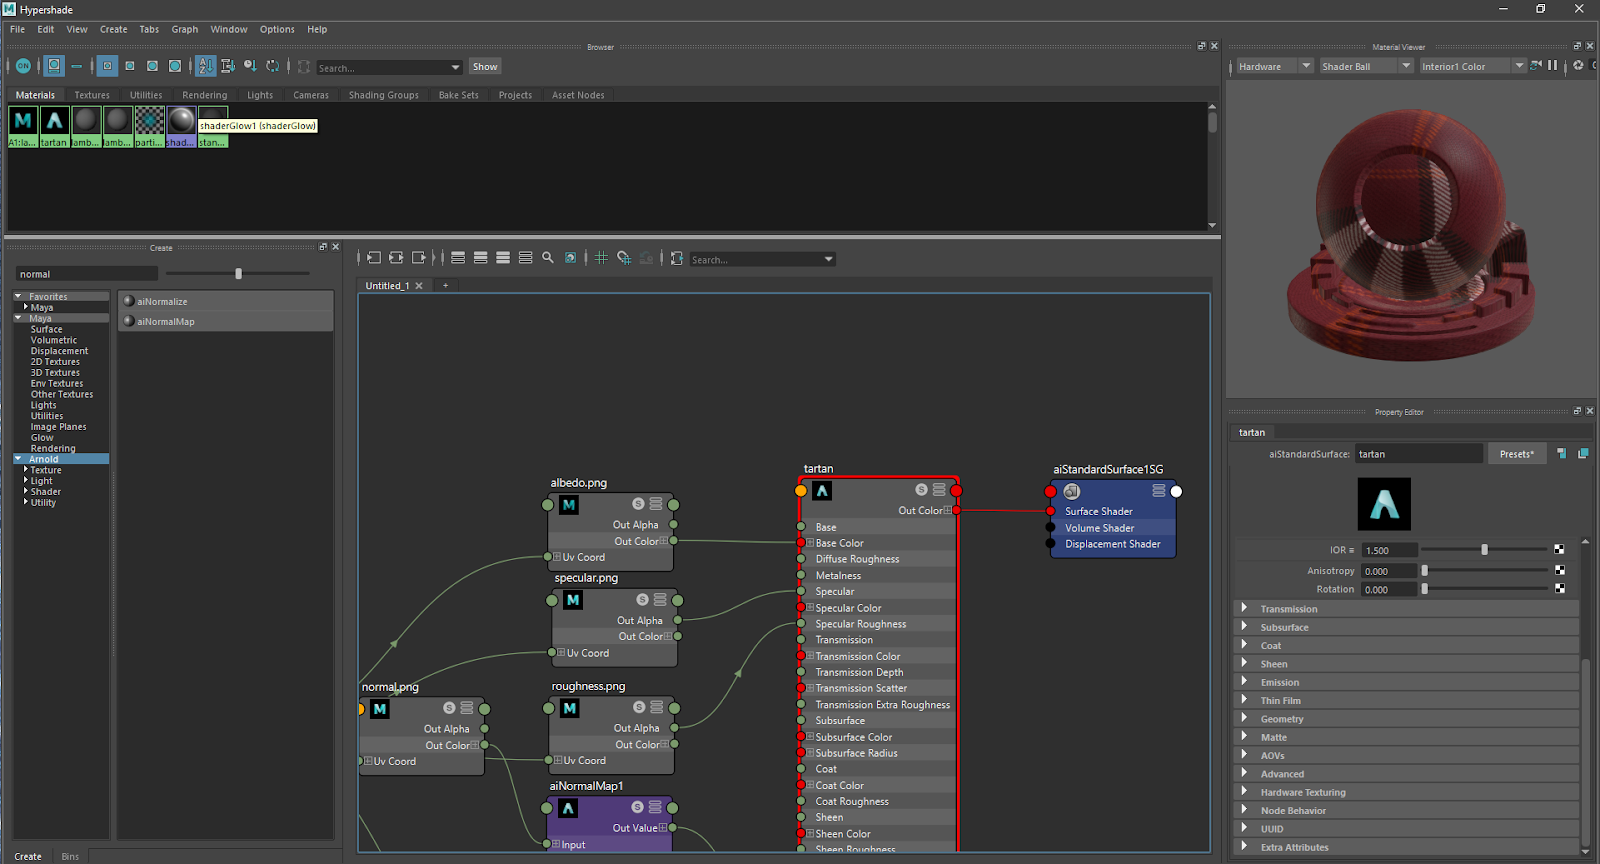
Apply the shader to the geometry you want (in this case, we used the wrinkled fabric). You can do this by right clicking on the mesh, navigating to the new window where it says “assign existing material” and selecting your renamed shader (tartan in this case).

After this, change render parameters if you need to, and take your renders. Here, a 1080p render was created with default render sampling settings.
This is the result:
