How To Import u3m Files Into VStitcher 2022.1

The u3m file format contains all the digital information of a material (maps and physics) and it is primarily used to create visual content. You will only have to import the material and you will see all the data applied.
Follow these steps to import your u3m file:
File>Import and select your u3m file:

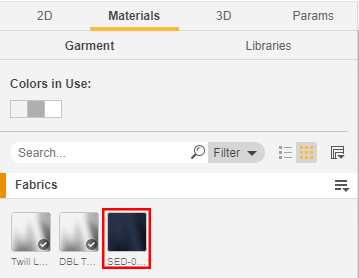
Once the material is imported, it will appear in the left panel in Materials > Fabrics:
Now apply the material to your patterns by dragging them into the 2d view and they will be ready to simulate and render:

NOTES: If the material contains displacement you will have to use the thickness of the fabric as value
How To Import Material Maps in VStitcher 2022.1
If you don't have the u3m file or you want to manually import the maps, follow these steps:
In the left panel, go to Materials> Fabrics, click on the icon on the left and select Add Fabric:

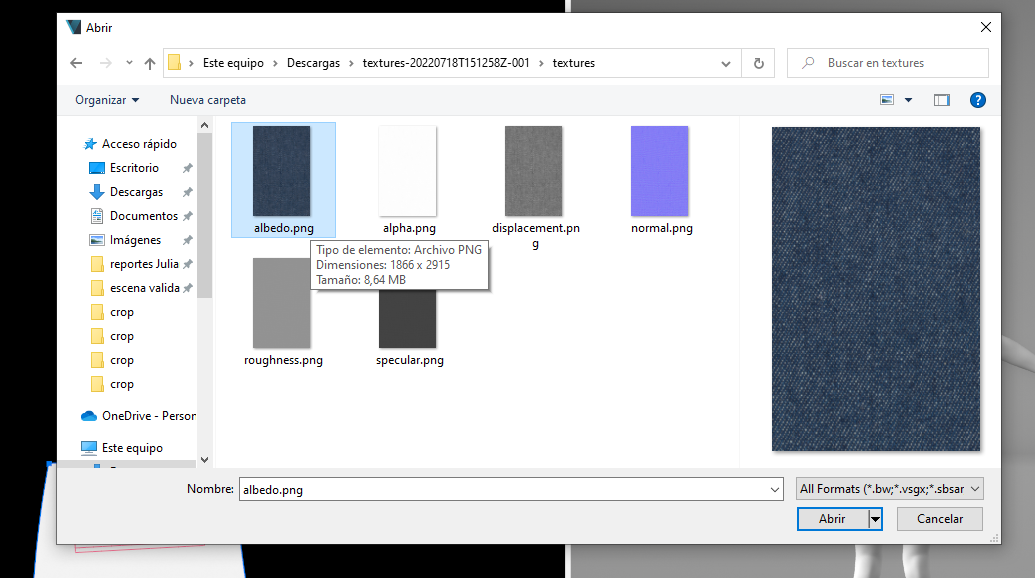
Select the albedo map and click open:
The material has been created and it will appear in the left panel in Materials> Fabrics:

If we select the material and on the right we will find a properties panel with all the details of the fabric:
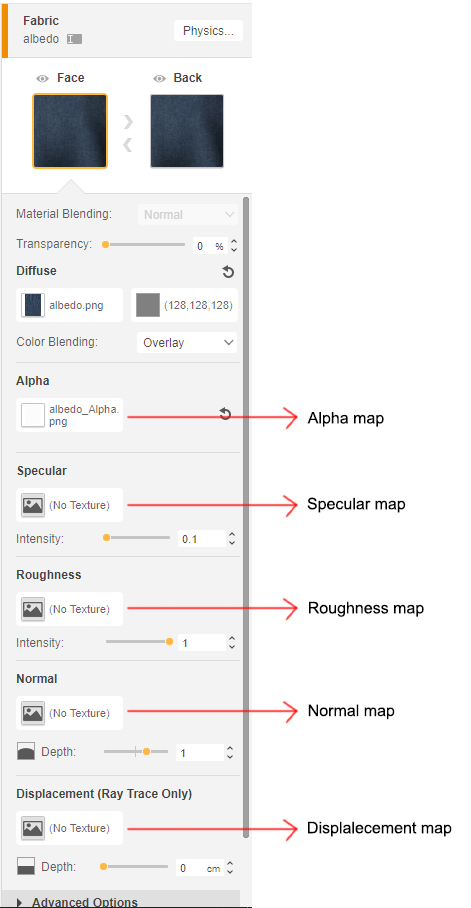
Now we will have to replace each parameter indicated in the previous image by our maps:
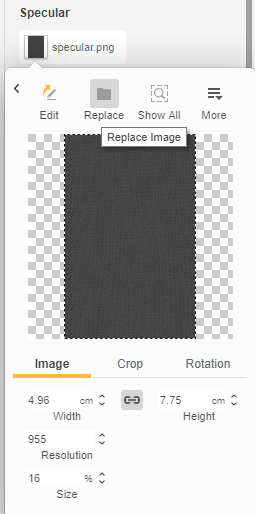
When we have all the maps applied, we will have to check if the scale of our texture is correct.
Normally VStitcher uses an automatic detection to know what size our texture is, if the size it offers is not correct we can edit it manually (for this it is necessary to know the measurements of our texture).
In case you have to edit it manually, changing the measurements in the indicated box will suffice. (By changing the measure to a single map they will be changed in all):

After we have done all the previous steps, we will drag the material to our patterns in the 2d view, and we are ready to simulate and render our material.