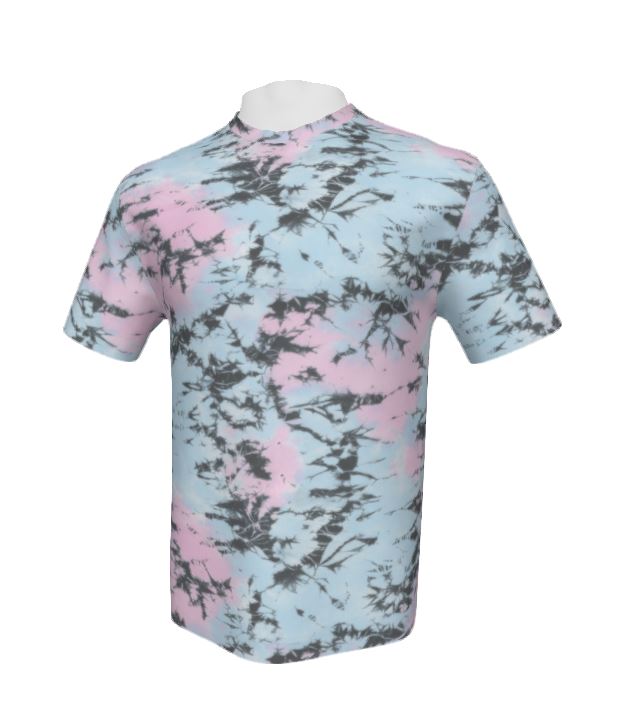
How to add a print layer to your fabric

Master the new Surface Tool in Tiling Tools! Learn to add realistic print layers that wrap perfectly to your fabric’s texture in just a few clicks.
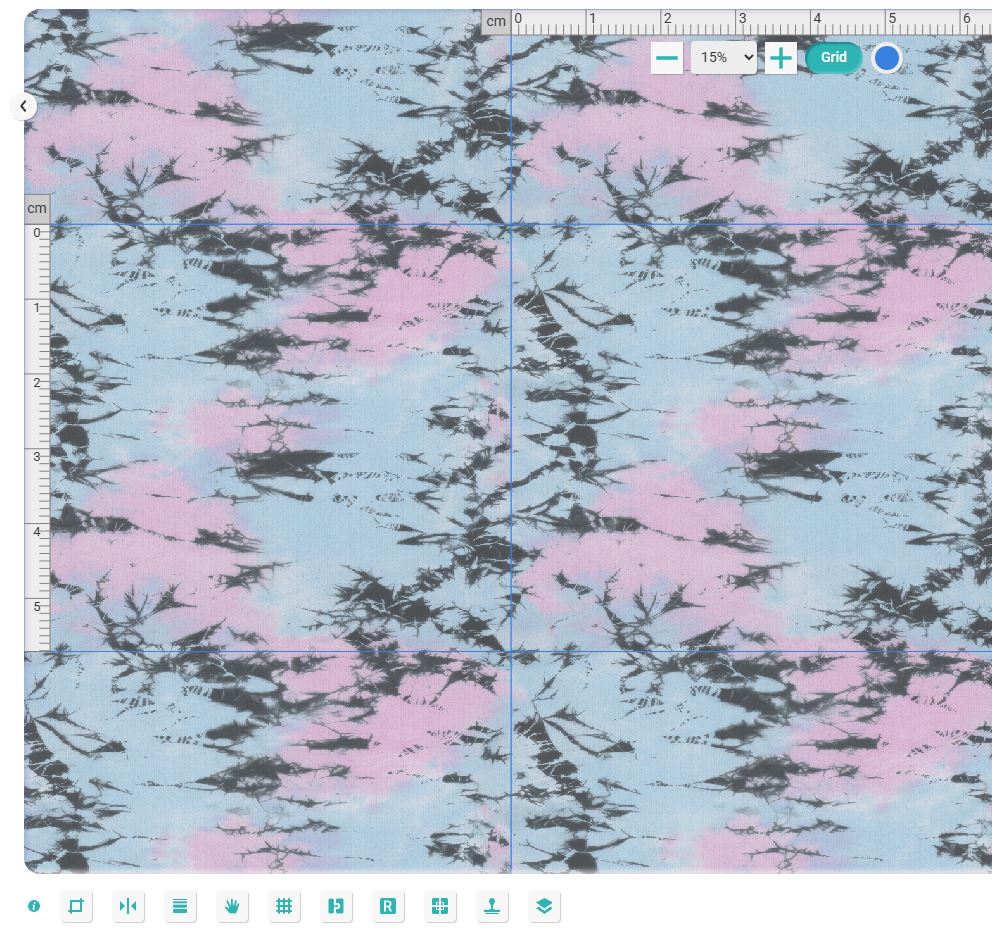
Surface tool
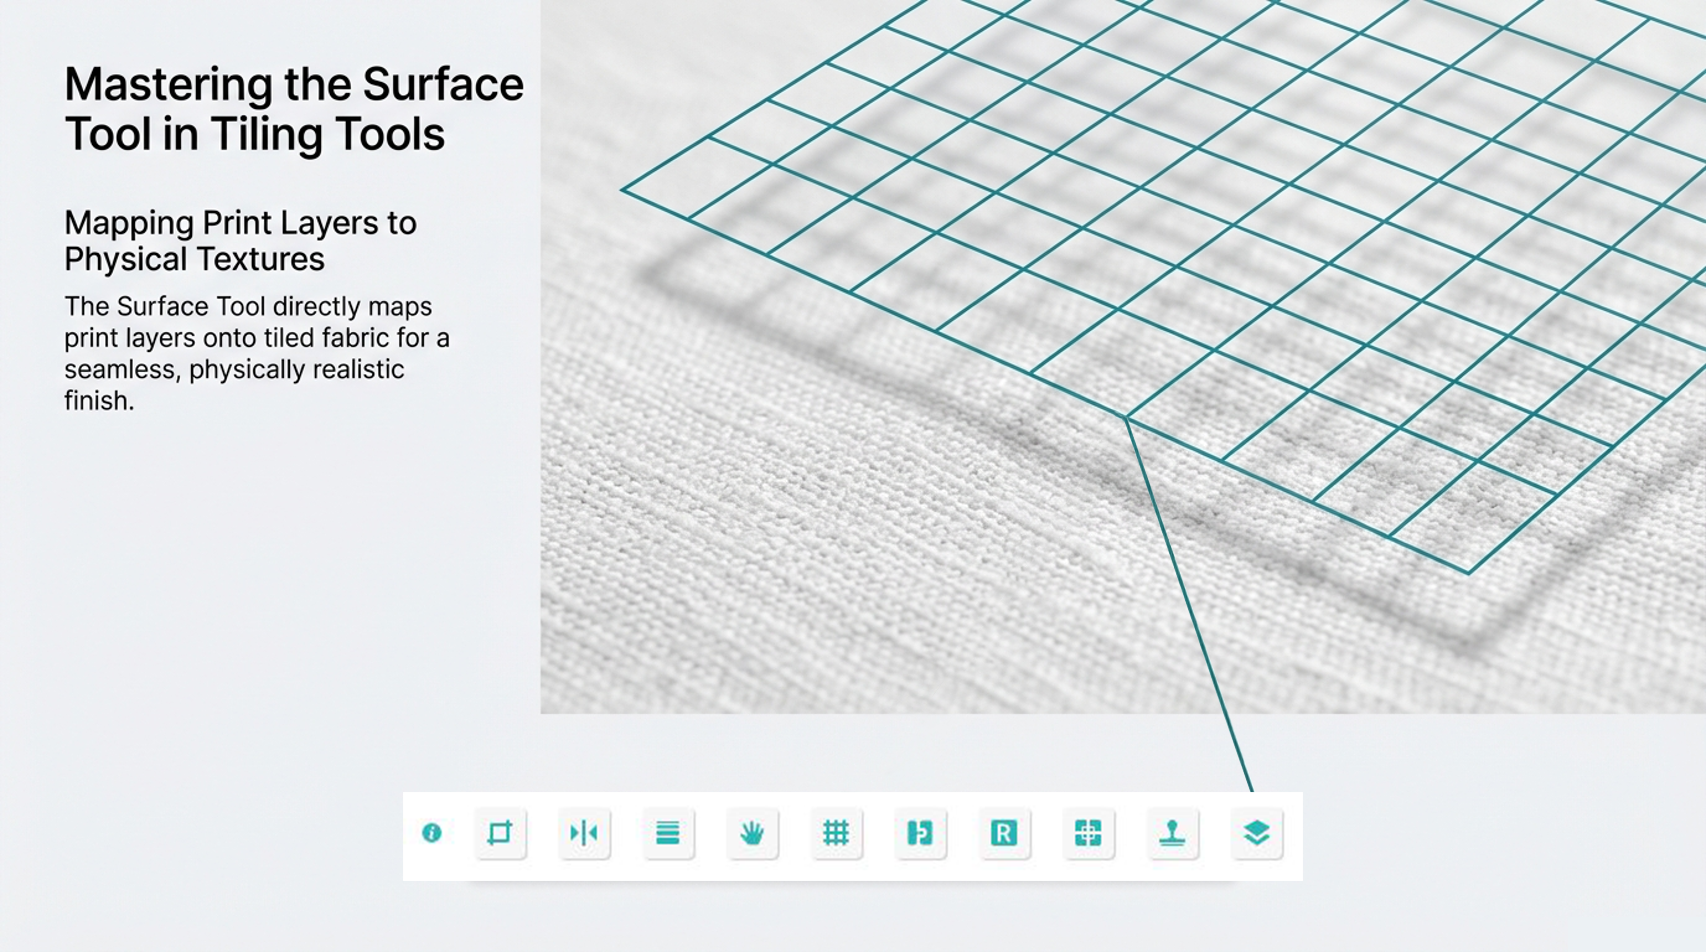
Elevate your textile designs with the Surface Tool: simply import a print layer and map it directly onto your tiled fabric for a seamless, realistic finish.
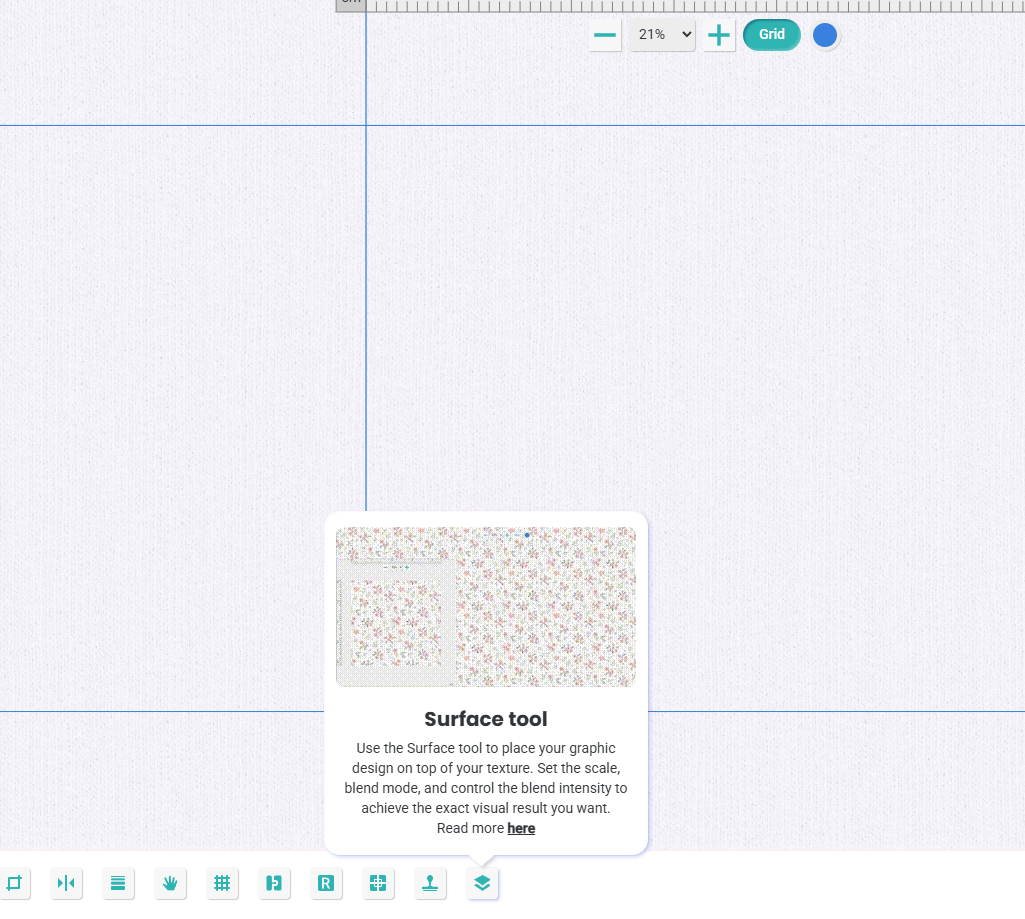
Bring your fabric to life with the Surface Tool: click the Import button to upload a custom design directly from your PC and layer it onto your texture.
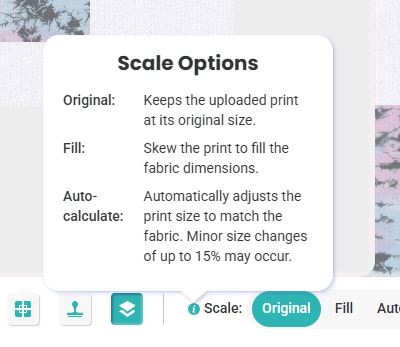
The Surface Tool offers three distinct scaling modes to ensure your artwork sits perfectly on the base fabric.
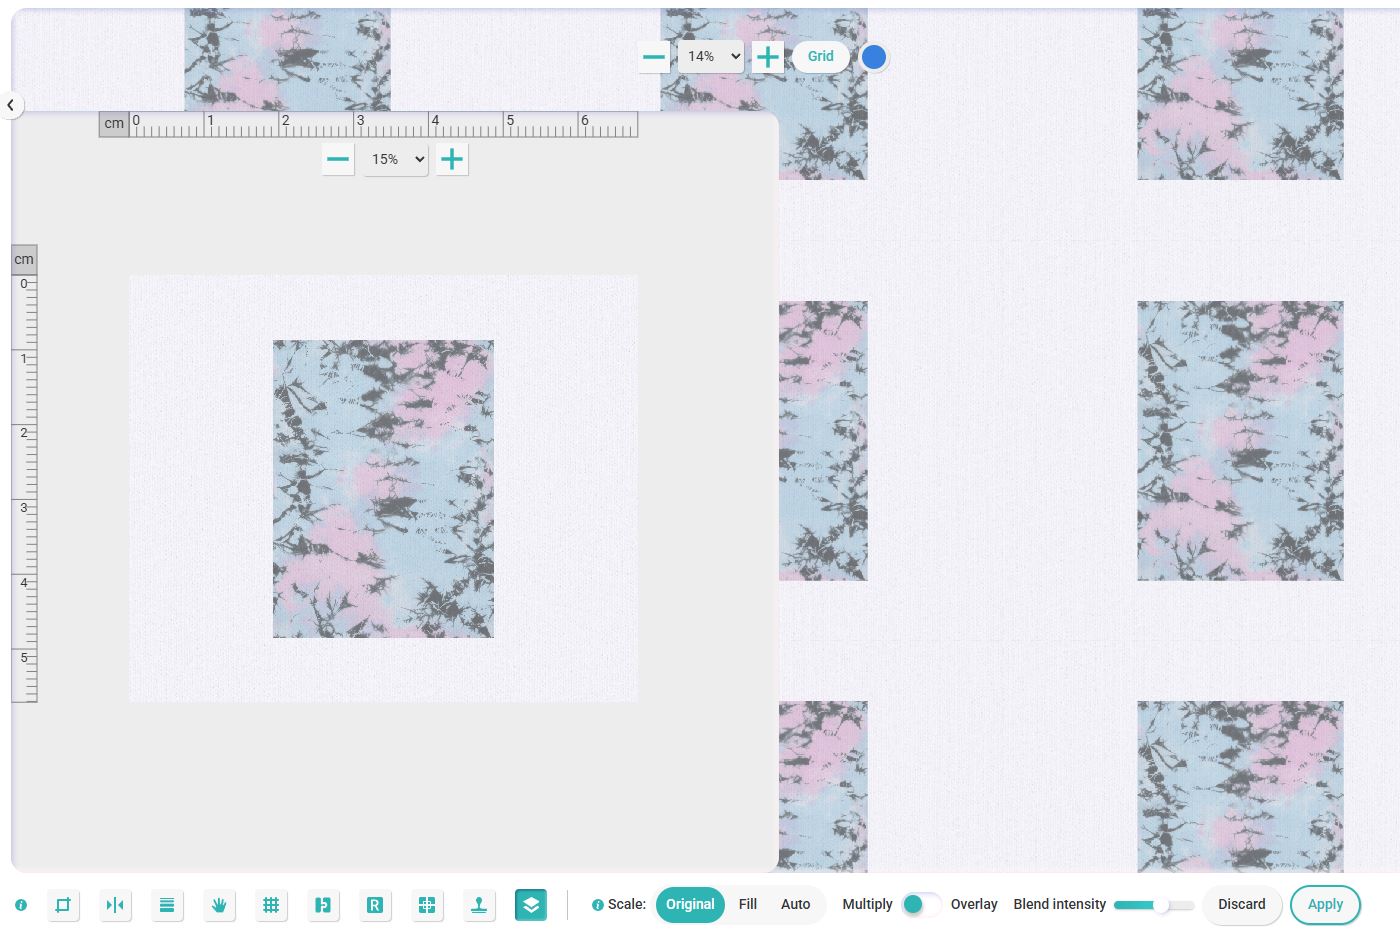
Use the Scale buttons in the bottom toolbar to toggle between these options:
Original: Maintains your uploaded design at its exact native size.
Fill: Skews and stretches the print to completely cover the fabric's dimensions.
Auto-calculate: Intelligently resizes the print to match the fabric tile, allowing for subtle adjustments of up to 15% for a seamless fit.
Once you've set your scale, you can use the Blend Modes to determine how the ink and fabric interact. These settings are crucial for making a digital print look like a physical product:
Blend Mode Options
Multiply: Best for dark prints on lighter fabrics. It "stains" the fabric, allowing the underlying texture and shadows of the weave to show through the colored areas of your design.
Overlay: A versatile choice that balances the light and dark values of both the print and the fabric. It’s perfect for achieving a vibrant look while maintaining the structural depth of the textile.
Fine-Tuning with Blend Intensity
Don't forget the Blend Intensity slider! This allows you to control the "opacity" of the effect.
High Intensity: Creates a thick, screen-printed look (like plastisol).
Low Intensity: Mimics a weathered, vintage, or soft-wash effect where the fabric's natural color peeks through the print.
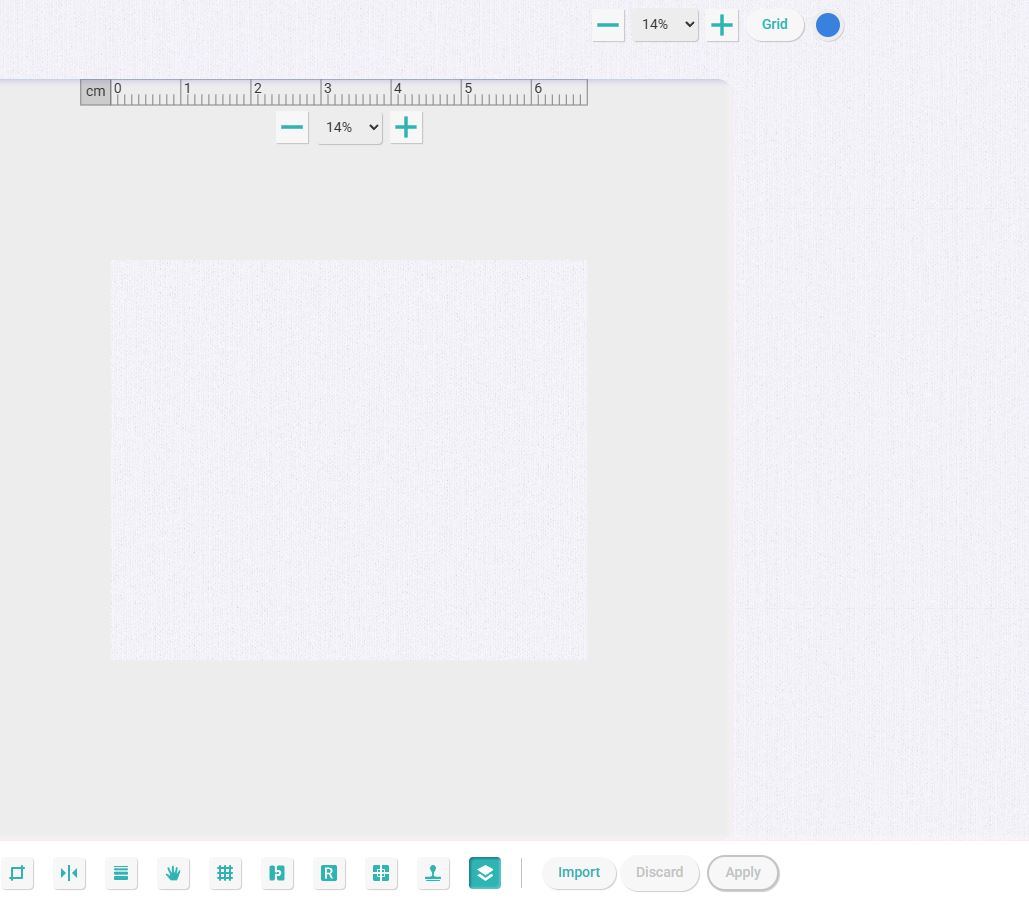
Once you're happy with the preview, just hit Apply to lock in your design.

Pro-Tip: Mirror Real-World Physics
When designing double-sided textiles, use the Blend Intensity slider to mimic real-world ink penetration. For the front side of your fabric, increase the intensity to show a crisp, saturated print. For the back side, decrease the intensity to create a "bleed-through" effect, making the design look like it has naturally soaked through the fibers.
Tip: Finalize Before You Apply
Keep in mind that clicking Apply merges your print layer directly into the fabric texture. To ensure the best results, it is recommended to use the Surface Tool only once you are satisfied with your base tiled fabric.
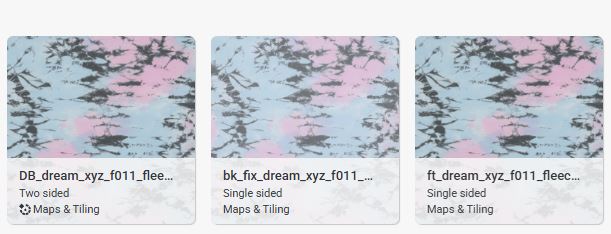
Linking Double-sided material in Textura.
To create a double-sided material in Textura, visit the collection page for the Approved Materials section.
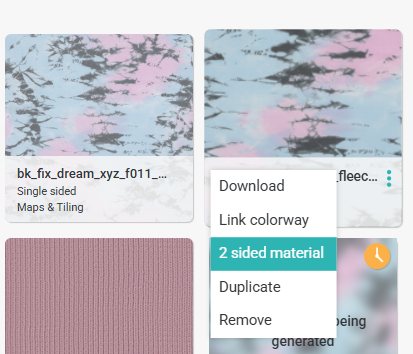
Your new double-sided material will be sent automatically to processing and it will be available for you in your fabric library.
To learn more about creating double-sided materials, please check our article here